
DIY Phone Repair: Tips and Tricks for Beginners
Ready to dive into the world of DIY phone repair? Whether you're looking to save money or just enjoy tinkering with tech, we've got you covered with these beginner-friendly tips and tricks. Let's power up your repair skills!
Essential Tools for Your Repair Kit
- Precision screwdriver set
- Plastic pry tools
- Anti-static wrist strap
- Magnifying glass or loupe
- Tweezers

Screen Replacement 101
Cracked screens are one of the most common issues. Here's a quick guide to replacing your phone's screen:
- Power off your device and remove the back cover and battery.
- Unscrew and detach any components covering the screen assembly.
- Carefully disconnect the display and digitizer cables.
- Remove the old screen and replace it with the new one.
- Reconnect all cables and reassemble your phone.
Pro Tip: Always use genuine or high-quality replacement parts for the best results and to avoid damaging your device further.
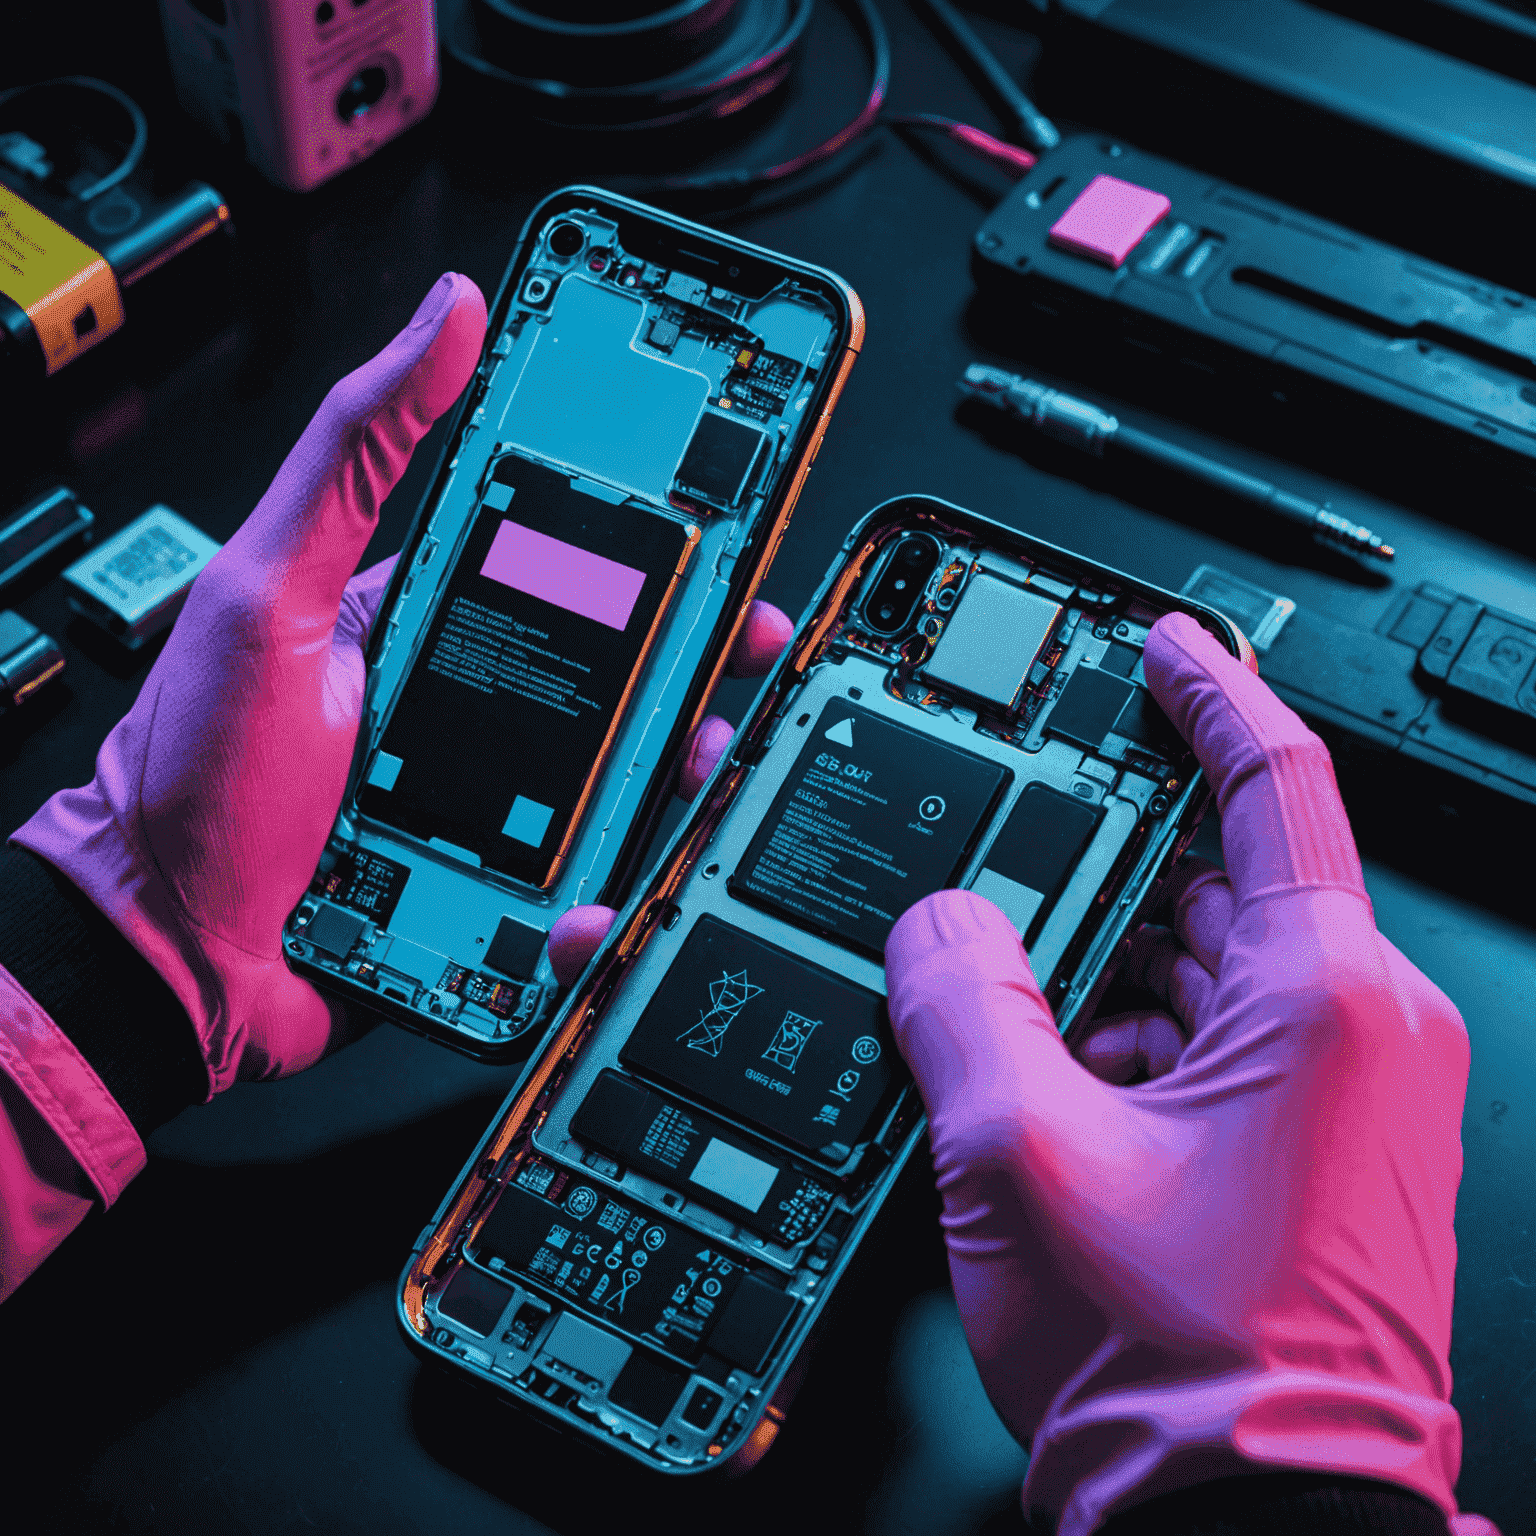
Battery Replacement: Power Up Your Skills
Replacing a worn-out battery can breathe new life into your phone. Here's how:
- Remove the back cover and locate the battery.
- Disconnect the battery connector from the motherboard.
- Carefully pry out the old battery, taking care not to puncture it.
- Insert the new battery and reconnect it to the motherboard.
- Replace the back cover and power on your device.
Troubleshooting Common Issues
Unresponsive Buttons
Try cleaning the buttons with isopropyl alcohol and a cotton swab. If the problem persists, the button mechanism might need replacement.
Charging Port Problems
Gently clean the port with a toothpick or soft brush. Be careful not to damage the connectors inside.
Speaker or Microphone Issues
Check for debris blocking the openings. Clean carefully with compressed air or a soft brush.
When to Seek Professional Help
While DIY repairs can save money, some issues are best left to the pros. Consider professional repair services for:
- Water damage
- Motherboard issues
- Complex screen assemblies (e.g., foldable phones)
- Warranty-covered repairs
Final Thoughts
DIY phone repair can be a rewarding experience, but always prioritize safety and proceed with caution. If you're ever in doubt, don't hesitate to consult with a professional. Happy repairing, tech warriors!